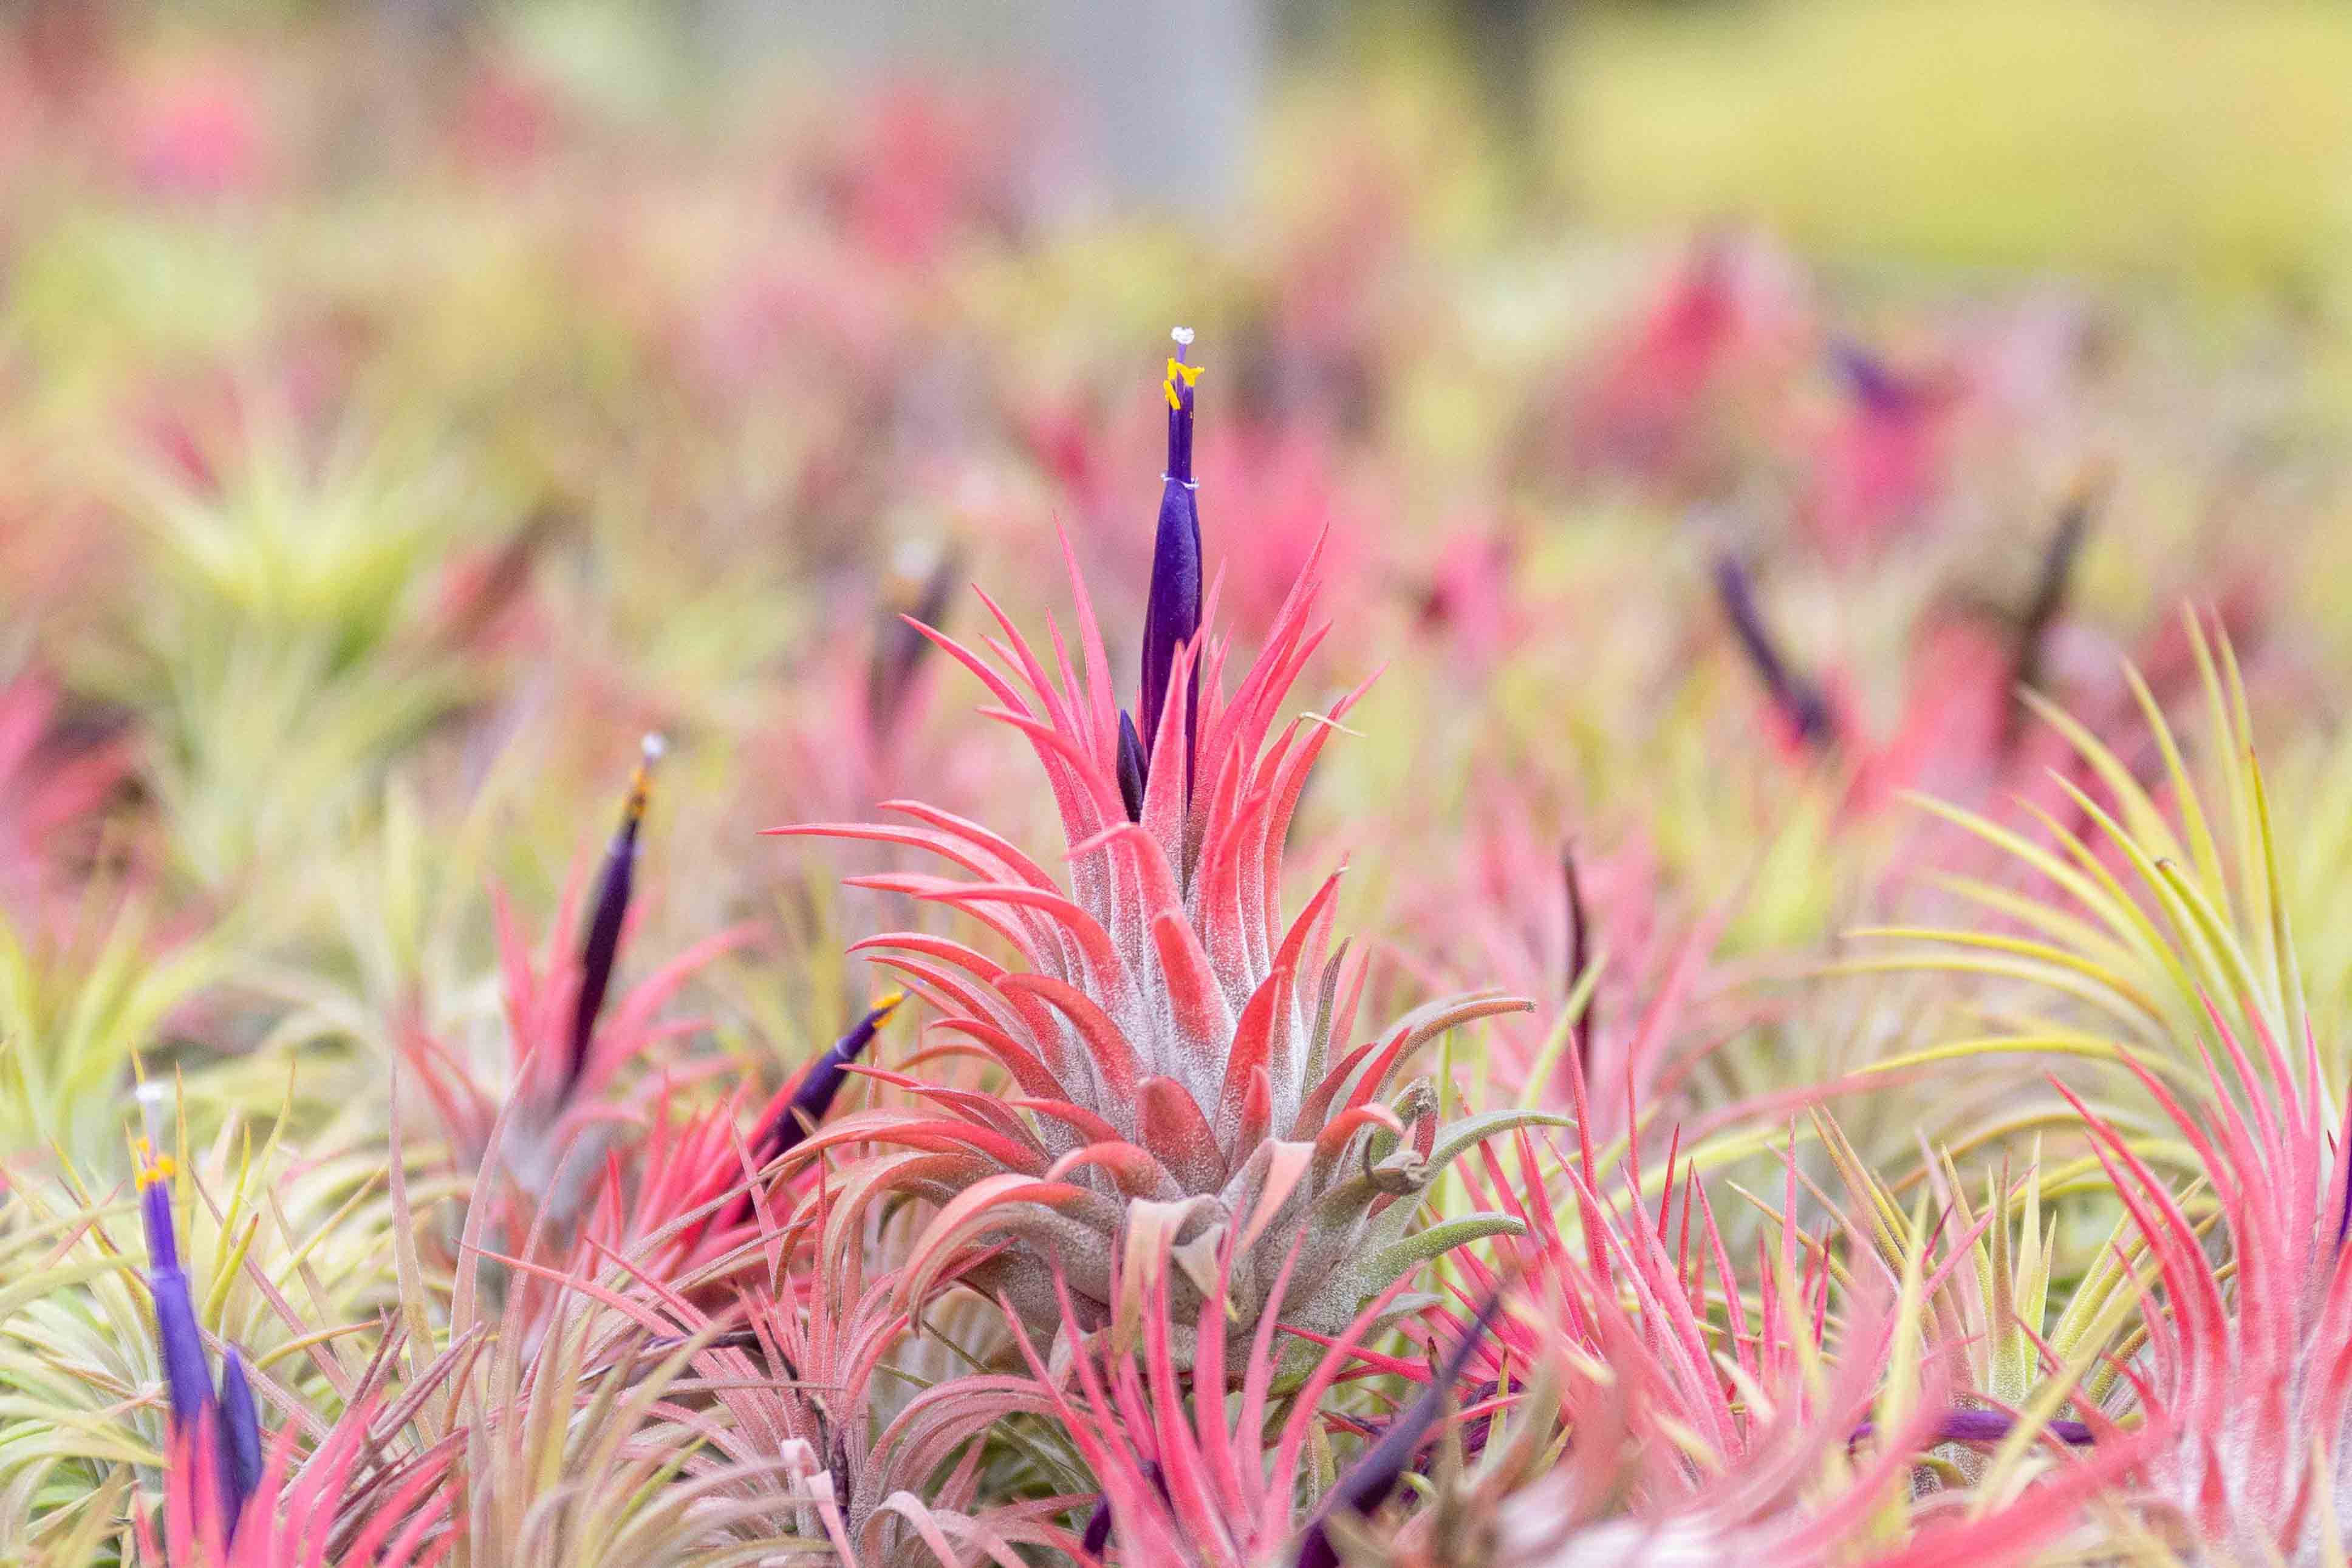
Mounting Air Plant Display Wood
Air plant wood displays are incredibly popular due to the fact that trees are its natural habitat so it's truly the organic way to display tillandsia. Air plants grow roots to cling tightly to trees to protect them from predators. Yet, waiting for roots to grow at home into your wood mount would take six to ten months and most of us do not want to wait that long which is why we have outlined a simple plan for mounting and watering your air plant display wood.Pick Your Wood Mount
The opportunities for air plant wood displays are countless. Many people favor mounting them on cork bark, grapewood, driftwood, cedar – you name it! Finding a “bug-free” piece of wood on a nature trail is a great way recycle and bring the outdoors in. In addition, we have many choices available on our website. To get started, let’s learn the steps needed to properly mount your air plant.

Step One: Plan the Air Plants Spot
First, inspect the wood for a spot that not only looks good to hold the air plant, but will help secure it in place. Most natural woods have unique holes and indentations which makes it easy to house an air plant. Other woods are soft enough to bore a hole into without looking unnatural. Our cork bark is soft enough to use a screw driver to dig an indention further into the wood for a more suitable location for air plants.Step Two: Apply the Glue
Next, make sure your air plant is completely dry and then dab a bead of glue on the base. You will want to use a glue that will not harm the indoor plant like E-6000 glue which comes with your purchase of cork bark or grapewood kits. It’s important to squeeze the glue out into a round bead the size of a pinto bean. You do that by squeezing it directly onto the plants’ base in one dollop.
Step Three: Hold Air Plant in Place
The third step is to sit the plant’s glued bottom into the preplanned hole and use things like a paper weight, heavy canned items, etc. to ensure the air plant will not move until the glue sets-up. Give it at least two hours to harden and then remove the objects and see how it looks!Step Four: Watering Method
Finally, you may want to consider changing your watering plan. Instead of soaking the attached air plant, it is ideal to mist. Misting with water does not saturate as deeply into the plant as does submerging under water therefore you will need to spray mist the attached plants twice a week. If it begins to look or feel dry after a week, then saturate the plant with more water while spray misting or simply add a third misting to your weekly regimen. Remember air plants are more forgiving if they are under watered and less forgiving (more apt to die) if you over-water them.
One exception to this rule is that cork bark is moisture tolerable so it can be partially submerge in water. You can still soak your air plants by floating the cork bark plant side down in a basin of water.
Frequently Asked Questions

At Air Plant Supply Co, we are often asked if you can use a hot glue gun to attach air plants to wood. In our experience, hot glue is deadly for the air plants. We recommend using 22-gauge floral wire, soft string or hemp string, fishing line that is thick (30 lbs or above, so as not to cut into the air plant) and chicken and hog wires (for wall mounting). The only metal that is poisonous to air plants is copper.
Do you have a creative idea or questions? Email us at info@airplantsupplyco.com – we are always happy to help!


